
How to Lock - Protect Cells in Excel
In Excel you may wish to lock cells so that your users can’t make changes to a specific worksheet. It is mostly done to protect the structure of the workbook or to prevent users from making critical changes to the formulas. In essence you are locking the ability for changes to be made. In this way you can protect the integrity of the workbook by locking Excel cells.
The following video on YouTube outlines the the Lock cells technique. The Excel file used is this video is below:

Lock All Excel Cells on a Worksheet
To lock all of the cells in Excel, so the cells are protected - on the Home menu choose File.

The following menu will appear.
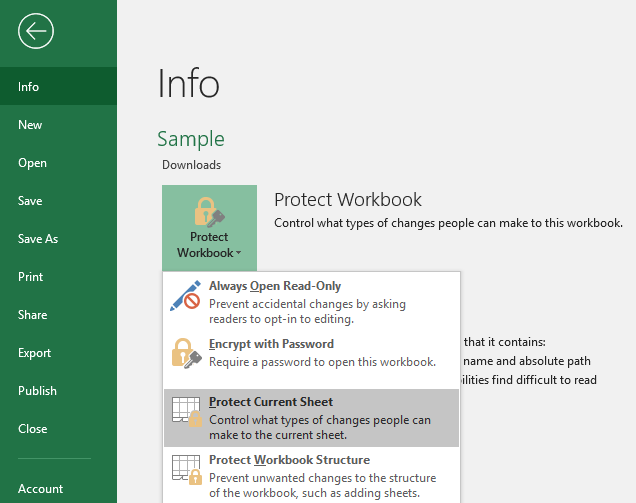
Choose Protect Current Sheet.

The above Excel Protect Sheet dialog will pop up. At this point you can choose to put in a password. You can choose what a user is allowed to change from the tick boxes in the list. By default, the first two boxes are ticked (Select locked cells, Select unlocked cells), which allows a user to select locked and unlocked cells. You can choose other options in the list, format rows, allow insert columns etc.
Click OK when you are happy and the workbook will be locked to the changes you chose. If any change is attempted the following will pop up.

This message is an indicator than the sheet is protected and can not be changed as you have locked all of the cells in the worksheet.
To take the password protection off - follow the same process, put it your password and the cells will be unlocked once more.
Unlock Certain Cells in Excel
To unlock certain cells in a spreadsheet to allow users data entry, it is a two step process. To lock the cells in Excel firstly choose the cells you don’t want locked. Let’s say I want the cells from C11:N15 left unlocked so users can edit them. The other cells on the worksheet we wish to protect. First highlight the cells you want user entry.

In the above example we only want users to the cells in yellow - these cells are unlocked, everything else will be locked. Highlight C11 to N15.
Press Ctrl + 1 together (Ctrl 1)
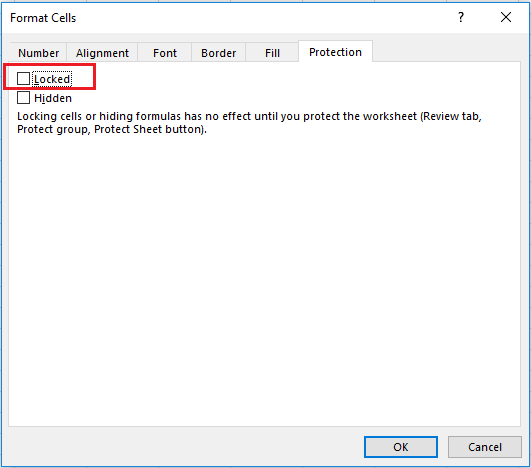
Untick the Locked check box, which by default is ticked.
Now follow the steps above - File - Protect Workbook - Protect Current Sheet - choose your settings and click OK.
That is how to protect part of a sheet so users can enter data. The following file is the one used in the YouTube video.