
Split Cells in Excel
Splitting cells in Excel is made decidedly easier with a keyboard menu item titled Text to Column. Quite often data will come off a source system and it is not in the format you are looking for. If the values of the cells need to be split then the following steps are how to do just that.
The following video takes you through a couple of examples for splitting cells in Excel.
A common example is to split names in an Excel spreadsheet. The first name and last name may be in a single cell and this might need to be split into separate columns.

Let’s say the data looks as above and we want to split first and last name with the text to columns short cut.
NOTE - in order to split the data from Column A to B we need a spare column in Column B so the data must look as follows.
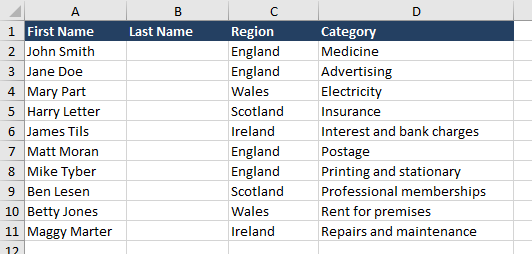
Note the additional column.

Highlight the cells you wish to split.

On the Data menu Choose = Text to Columns.

The above dialog appears - choose Delimited then click Next.
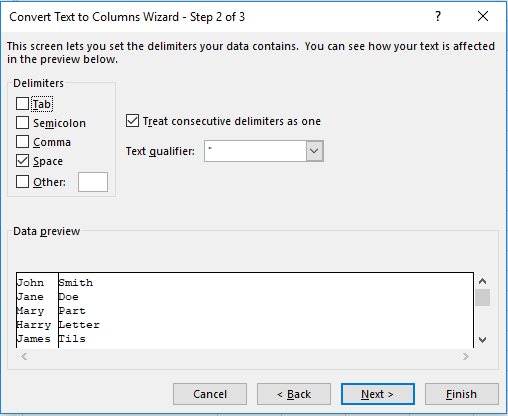
Choose Space on the above dialog and click NEXT (if you wish you can click the FINISH button).
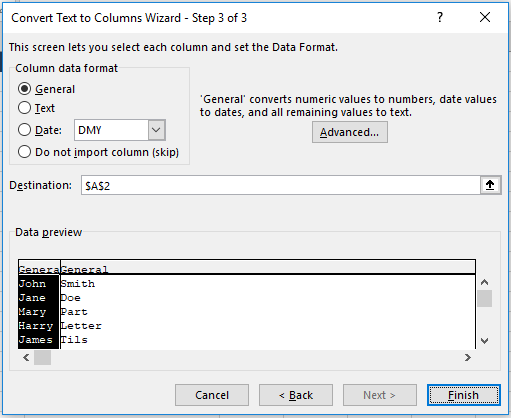
The final dialog tells you where to put the data however the default is where the first cell in the highlight list is. In the above case it was cell A2. So choose finish and the data will split nicely.
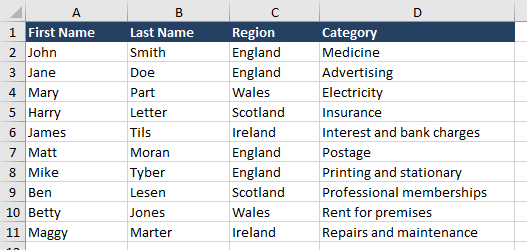
The final product is the splitting of the cells with the help of Text to Columns. It is that simple. The following file outlines this example.